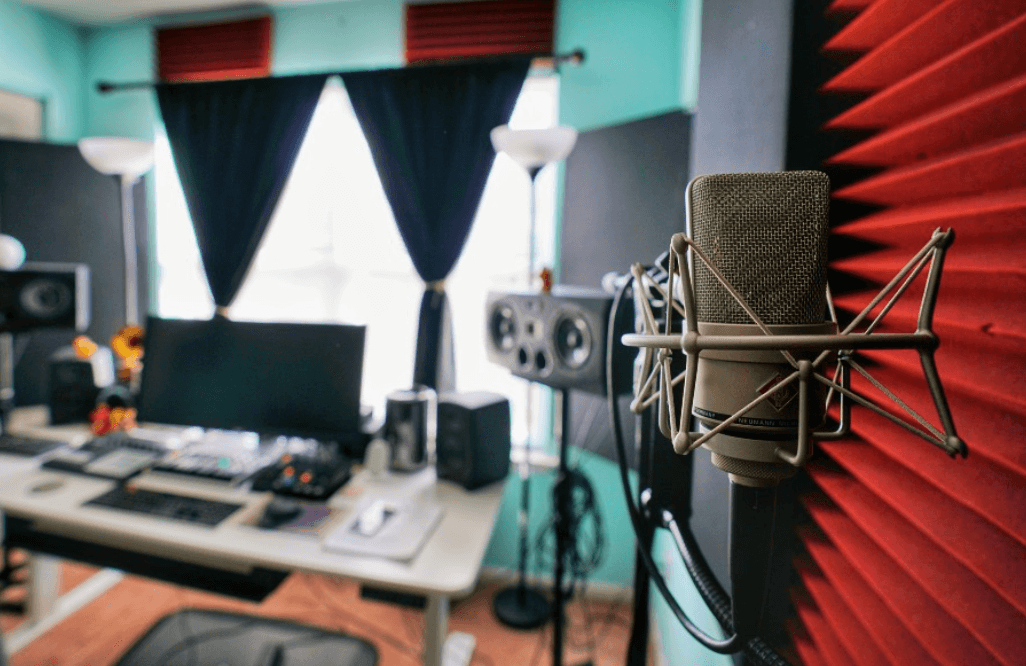
So, you have decided to dive in and set up your own home recording studio. Whether you are an aspiring musician, a podcast enthusiast, or simply someone who wants to explore audio production, having your own space to create and record is a game changer. But let’s face it building a studio sounds expensive. The good news? It does not have to be. In 2024, you can put together a professional-quality setup without draining your savings account.
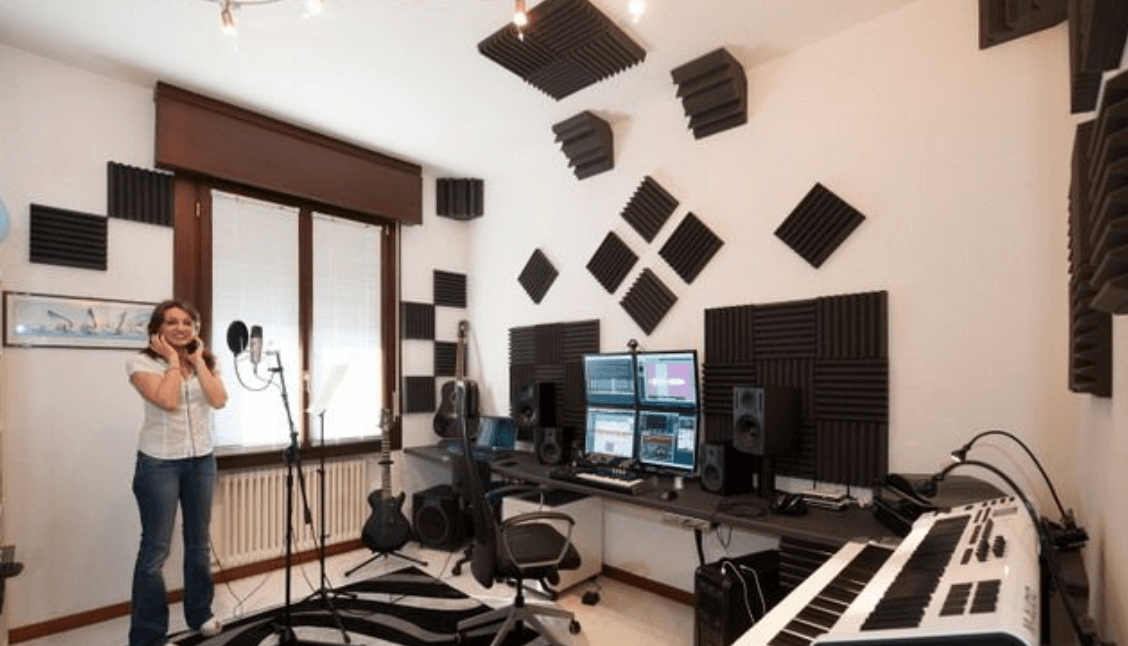
In this guide, I will walk you through the essential gear you need, share some insider tips on where to save, and help you get your home recording studio up and running on a budget. And do not worry, I will keep it light and fun because setting up your studio should be exciting, not overwhelming. This article is a detailed description post, so after reading this article you will be filled with crazy ideas to set up your kind of home recording studio. So what more are you waiting for, let’s start the journey.
Know more about How to Convert Audio Files for Different Formats and Quality
Top 6 Guides to Set Up a Home Studio on Budget:
1. Choosing the Right Space:
The first step in setting up your home recording studio is choosing the right space. Ideally, you want a room that is quiet, free from external noise, and has good acoustics. But if you are like most of us, you will have to work with what you have, whether it is a bedroom, basement, or even a closet.
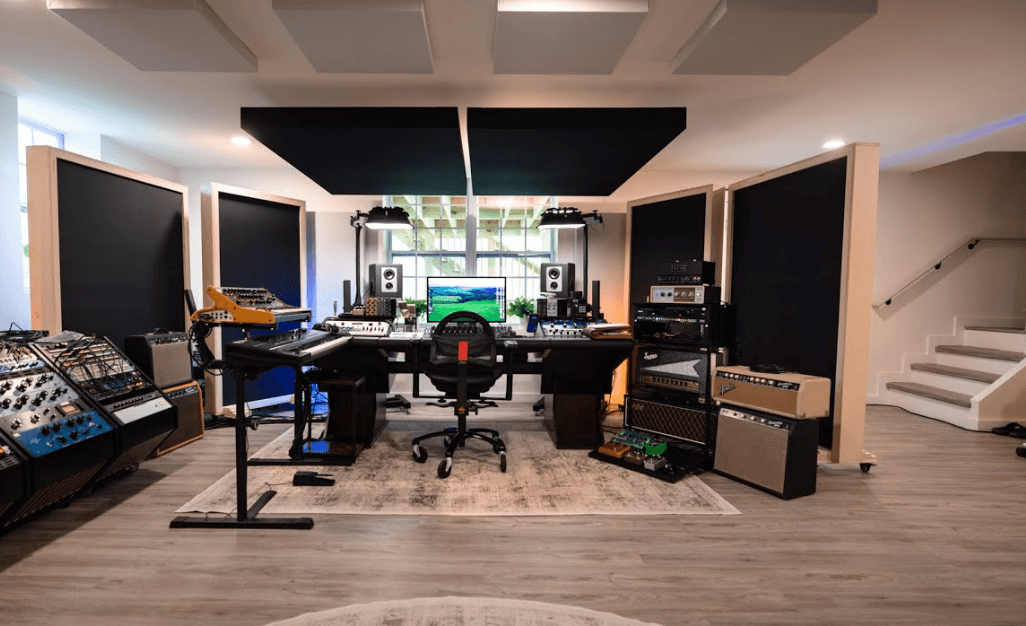
- Tip: Smaller rooms can actually be an advantage when it comes to acoustics. They are easier to treat with soundproofing materials, and you won’t have to worry as much about echo and reverb. Plus, it is easier to justify turning your closet into a recording booth than, say, the entire living room (trust me, your roommates or family will thank you).
- Joke Alert: Just make sure your studio is not doubling as the laundry room you don’t want your killer guitar riff drowned out by the spin cycle.
2. Essential Gear for a Budget Studio:
Now, onto the fun part gear! You don’t need to spend thousands of dollars to get professional results. Here is a breakdown of the essential items you will need, and how to get them without breaking the bank.
Audio Interface
An audio interface is the heart of your recording setup. It is the piece of equipment that connects your microphone and instruments to your computer. When it comes to budget-friendly options, look for interfaces that offer a good balance of price and quality. The Focusrite Scarlett 2i2 is a popular choice among beginners, offering solid performance at an affordable price.
- Budget Tip: You don’t need an interface with tons of inputs and outputs if you are just recording solo projects. Stick to a basic 2-in/2-out model to save money.
Microphones
Microphones are where things can get pricey, but there are some great budget options out there. For vocals, a good condenser mic like the Audio-Technica AT2020 is a solid choice. If you are recording instruments or podcasts, a dynamic mic like the Shure SM57 is versatile and durable.
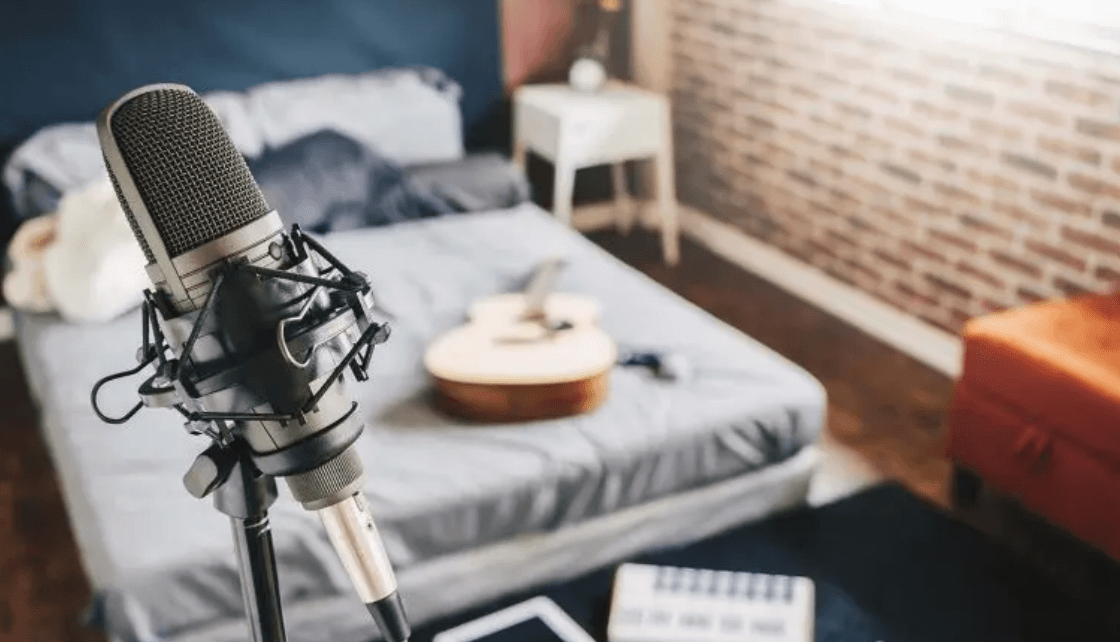
- Budget Tip: Consider buying used gear or refurbished models to save even more. Just make sure to buy from reputable sellers to avoid any unwanted surprises.
Headphones and Monitors
Accurate monitoring is crucial for producing high-quality recordings. For budget-friendly headphones, the Audio-Technica ATH-M50x offers excellent sound quality at a reasonable price. When it comes to studio monitors, the JBL 305P MkII is a great entry-level option that will not empty your wallet.
- Budget Tip: If you can only afford one, prioritize getting a good pair of headphones first. You can always upgrade to monitors later.
Digital Audio Workstation (DAW)
Your DAW is the software you will use to record, edit, and mix your music. While there are plenty of expensive DAWs out there, you don’t need to spend a fortune. Audacity is a free option that is great for beginners. If you are looking for something a bit more advanced, Reaper offers a full-featured DAW with a very affordable licensing fee.
- Budget Tip: Many DAWs offer free trials or lite versions. Take advantage of these to test out different software before committing.
Cables and Accessories
Do not forget the little things! You will need XLR cables for your microphones, instrument cables for guitars or keyboards, and possibly some stands and pop filters. These accessories don’t have to be expensive, but make sure to get reliable brands to avoid constant replacements.
- Budget Tip: Bundle deals or package kits can save you money on these essentials. Check out sites like Sweetwater or Thomann for affordable options.
3. Optimizing Your Space for Sound Quality:
Once you have got your gear, the next step is optimizing your space for sound quality. This does not mean you need to hire an acoustician or spend a fortune on acoustic panels there are plenty of DIY solutions that can make a big difference.
Soundproofing vs. Sound Treatment
First, let’s clear up a common misconception, soundproofing and sound treatment are not the same thing. Soundproofing is about keeping noise out (or in), while sound treatment is about controlling the sound within your space. For a home studio, sound treatment is usually more important.
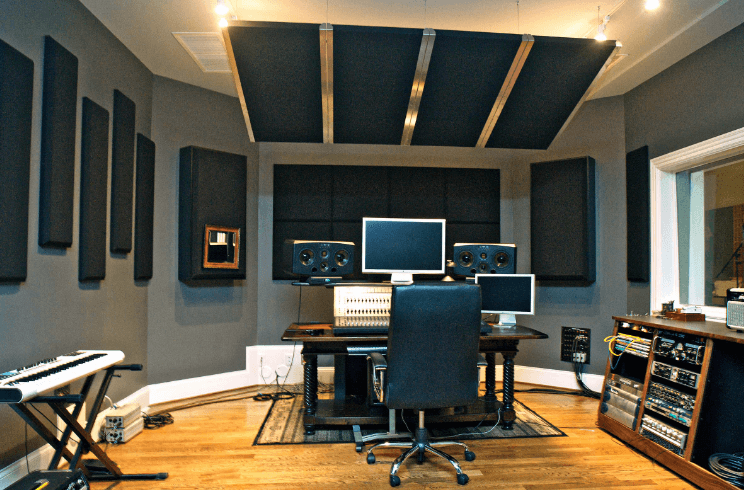
- Joke Alert: Unless you live next to a construction site or share a wall with a heavy metal band, you probably don’t need to go full “Fort Knox” on your soundproofing.
DIY Acoustic Treatment
You can make your own acoustic panels using rock wool or foam wrapped in fabric, which helps absorb sound and reduce reflections. Place these panels on the walls, especially at the first reflection points (the spots where sound from your speakers first hits the walls).
- For a really budget-friendly option, heavy curtains, rugs, and even bookshelves filled with books can help diffuse sound and minimize unwanted echo.
Bass Traps
Low frequencies tend to build up in the corners of a room, creating a boomy sound. You can make DIY bass traps using the same materials as your acoustic panels and place them in the corners of your room to help control these frequencies.
4. Recording Techniques for a Budget Studio:
Having great gear is one thing, but knowing how to use it is another. Here are some tips to help you get the most out of your budget studio.
Mic Placement
Mic placement is crucial for getting a good sound. For vocals, start with the mic at mouth level, about 6–12 inches away, and experiment with distance and angle to find the sweet spot. For instruments, try different positions to capture the best sound—whether it is pointing directly at the sound hole of an acoustic guitar or slightly off-axis for a brighter tone.
- Budget Tip: If you are dealing with background noise, try recording in a smaller space like a closet, with some blankets hung up to dampen reflections.
Use of Plugins
Plugins can transform your recordings from raw tracks to polished productions. While there are plenty of expensive plugins out there, you can find high-quality free plugins for EQ, compression, reverb, and more. Websites like Plugin Boutique often offer discounts or free versions of popular plugins.
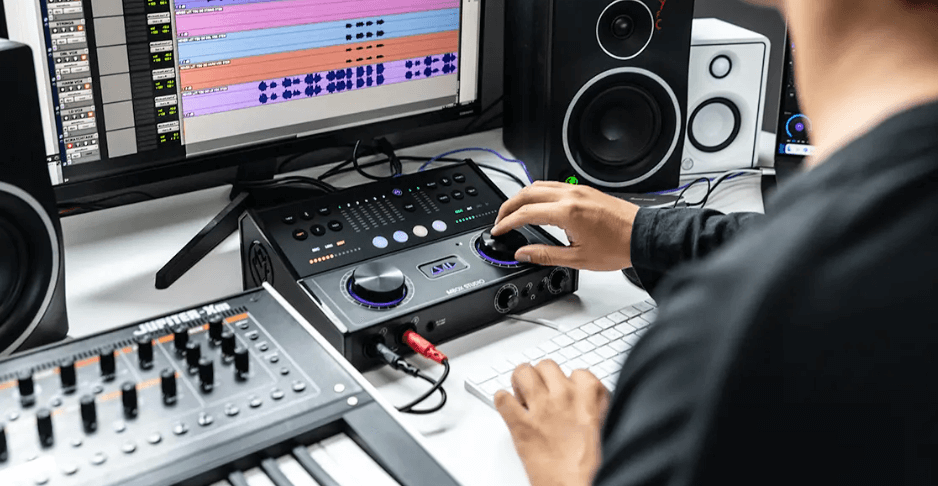
- Budget Tip: Start with the basics and learn how to use them well. A good EQ and compressor can go a long way in improving your mixes.
Recording Levels
Make sure you are recording at the right levels. You want your audio to be loud enough to avoid noise, but not so loud that it distorts. Aim for levels that peak around -6dB to -3dB in your DAW.
- Joke Alert: Remember, the goal is to capture sound, not blow out your speakers, so keep those levels in check!
5. Mixing and Mastering on a Budget:
Mixing and mastering are where your tracks really come to life. While professional mixing and mastering services can be expensive, you can achieve great results on your own with a bit of practice and the right tools.
- Mixing Tips: When mixing, start by getting a good balance between your tracks. Use panning to create space in your mix, and do not be afraid to cut frequencies that are cluttering up the sound. Less is often more when it comes to EQ and compression.
- Budget Tip: Reference your mix on different systems headphones, car speakers, and even your phone to make sure it translates well across different environments.
- Mastering Tips: Mastering is the final step in the process, where you prepare your track for distribution. Use a limiter to bring up the overall volume without causing distortion, and make subtle EQ adjustments to enhance the overall tonal balance.
- Budget Tip: There are free mastering tools available that can help you get started. If you are new to mastering, consider using a free online service like LANDR to automate the process.
6. Where to Save and Where to Spend:
When setting up a home studio on a budget, it is important to know where to save and where to spend. Here is a quick guide to help you make smart decisions.

Where to Save
- Cables and Accessories: Don’t spend a fortune on gold-plated cables. As long as they are reliable, you are good to go.
- Software: Start with free or affordable DAWs and plugins, and upgrade as you need to.
- DIY Acoustic Treatment: Save money by making your own acoustic panels and bass traps.
Where to Spend
- Microphone: A good microphone is worth the investment. It is the most important part of capturing quality sound.
- Audio Interface: A reliable audio interface will ensure your recordings are clear and free of latency issues.
- Headphones/Monitors: Accurate monitoring is key to producing professional-sounding tracks.
Conclusion
Setting up a home recording studio on a budget in 2024 is not only possible, but it is also a lot of fun. With the right gear, a bit of creativity, and some DIY ingenuity, you can create a space that is perfect for capturing your musical ideas or producing high-quality audio content. Remember, it is not about having the most expensive equipment it is about making the most of what you have and learning how to use it to its full potential.
Don’t forget to read on Audio Editing on the Go: Top Mobile Apps for Quick Edits
So, go ahead and start building your dream studio. And hey, if you need a break, just remember even the greatest albums were recorded in less-than-ideal conditions. The Beatles’ “White Album” was famously produced in a studio full of tension, weird vibes, and random musical instruments scattered everywhere. If they can do it, so can you!
Happy recording, and may your tracks be ever in tune!
About the author:
I’m Ricky Jonas, a Computer Science graduate, and a full-time blogger and coder. My journey into the world of software started out of pure curiosity and a love for technology.
